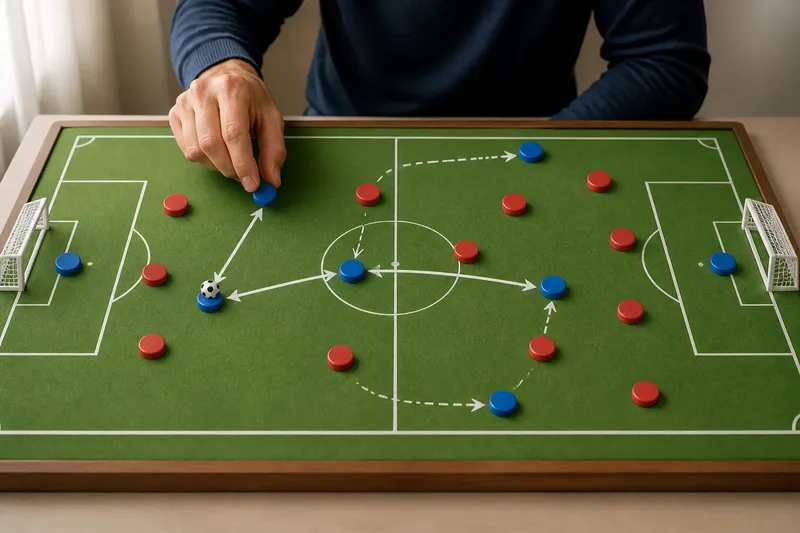
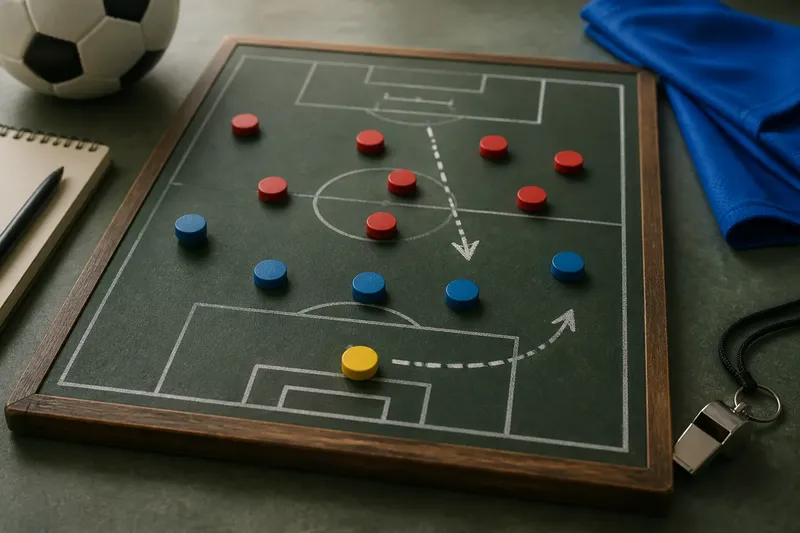
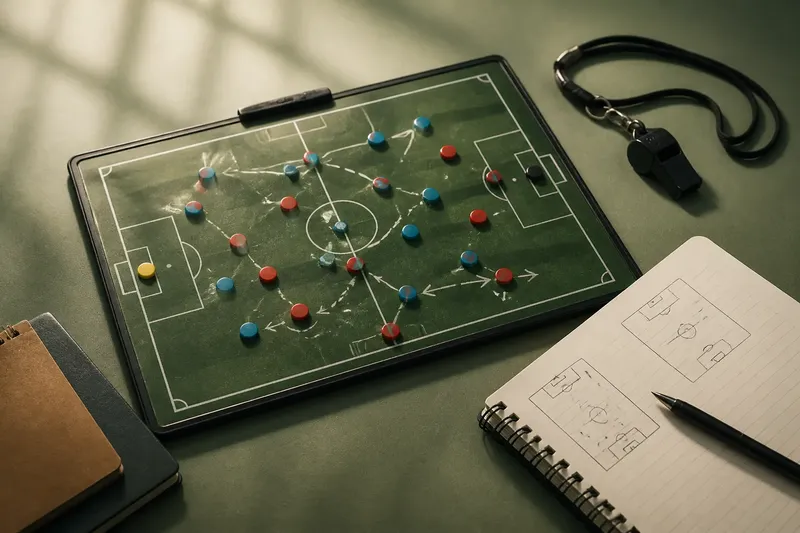
The Second Defender: How Cover Changes a One-on-One
Learn to read the second defender in a football one-on-one and see how cover changes an attacker’s space, timing and best route to goal.
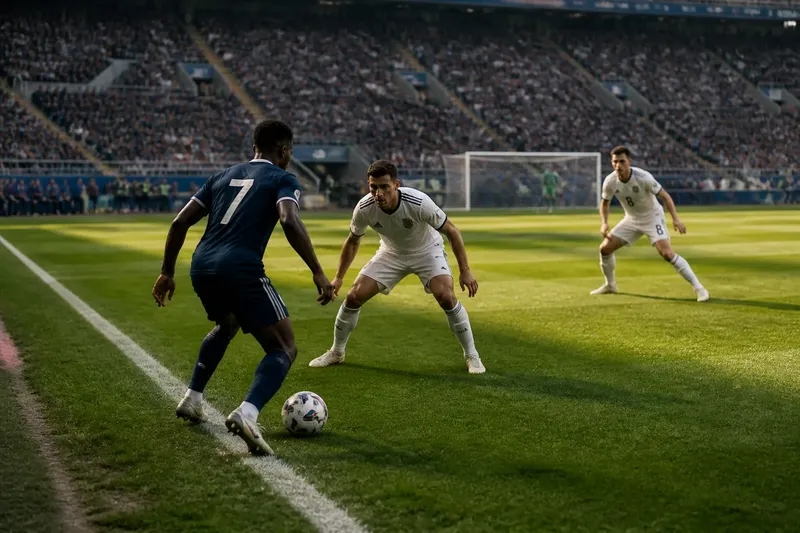
The second defender can turn a football one-on-one into a race against closing space. To read the second defender, track the nearest cover player as well as the attacker and marker: the duel is shaped by where support can arrive, not just by the first defender’s footwork.
That extra player may be close enough to block a cut inside, yet too far away to stop a quick touch down the line. For a viewer, the useful question is not simply “Can the attacker beat the marker?” but “What can the attacker do before cover takes away the next option?” Follow the sequence below to answer it during a match.
Start with the moment before the duel
Begin as the ball travels towards the attacker, before the close defender makes contact. Find the attacker, the first defender and the nearest player who could help that defender. Then glance at the space behind and beside them. This establishes the shape of the contest before the action becomes crowded.
Use the pitch markings as reference points. The touchline can limit an attacker’s route; the edge of the penalty area may offer a route inside; a nearby teammate can pin a covering defender in place. Notice whether the ball is travelling towards the attacker’s front foot or making them turn back towards their own goal. That receiving detail affects how quickly they can face up to the marker.
Do not assume the nearest defender is the cover player. A midfielder may be arriving from behind, or a centre-back may be holding a position deeper rather than stepping out. Identify the player who could intervene if the first defender is beaten. Their distance and direction matter more than their label or starting position.
Separate the marker’s job from the cover player’s job
The first defender usually has to delay the attack while protecting a dangerous route. They may angle their body to show the attacker towards the touchline, keep a cautious distance, or step close enough to challenge. The exact choice depends on the surrounding space and the help available.
The second defender has a different task: reduce the cost of the marker being beaten. Cover might guard the route into the centre, protect space behind the line, or be ready to take over the attacker if the marker is drawn away. Sometimes the covering player is not in tackling range at all. Their position can still discourage a run because it makes the next touch look less promising.
Watch the pair together. If the marker presses aggressively while cover stays directly behind, the attacker may have little room to exploit a feint. If the marker gives ground and cover shades towards the centre, the attacker may be invited down the outside. These are not fixed rules; they are clues to what each defender is trying to protect.
Read the space the attacker can reach next
After locating cover, look for the attacker’s next usable space, not the largest patch of empty grass. An open lane can be irrelevant if the attacker cannot reach it before a defender arrives. A narrow channel may be valuable if it leads to a shot, a cross, or a pass to a teammate arriving unmarked.
Check three routes in order:
- Inside: Can the attacker move towards goal, or is the covering defender already blocking the angle?
- Outside: Is there room beside the marker, and does the touchline leave enough space to continue?
- Behind: Can the attacker push the ball past the marker, or would the covering player reach it first?
Then look at the ball. A close touch lets the attacker change direction but may invite a tackle; a heavier touch can create running room but gives the covering defender time to intercept. The relevant comparison is between the attacker’s next action and the defenders’ ability to close that route, not between raw pace in isolation.
Follow the first defender’s movement
Now watch the marker’s hips, feet and approach angle. A defender who moves side-on may be trying to show the attacker away from the centre. A defender who closes squarely can appear to block both sides, but may be vulnerable if the attacker changes direction sharply. Keep the covering player in view: the marker’s angle often makes more sense once you see which route the partner is protecting.
Notice whether the marker commits before the ball is under control. If they rush in, the attacker may be able to play around them with a first touch or a quick pass. If they hold their ground, they may be waiting for cover to arrive. Either way, the defender’s first movement can reveal whether the duel is meant to be won immediately or contained until support is set.
Imagine a winger receiving near the touchline with a full-back closing from the front and a midfielder sliding across behind. If the full-back angles the winger outside, the midfielder may be guarding the inside pass rather than preparing to tackle. The winger’s useful response could be a short lay-off to a teammate, then a run beyond the full-back; the observable change is that the marker must turn and the cover player must choose between tracking the runner and guarding the centre.
Track what the attacker does with the support
Once the attacker moves, ask whether they are trying to beat both defenders or make the defenders choose. A direct dribble can challenge the marker’s balance, but a pass-and-run can pull the cover player out of position. A pause can also help: if the covering defender has to step towards the ball, space may open for a teammate nearby.
Watch the attacker’s teammates as part of the same picture. One runner may occupy the covering defender, leaving the marker more isolated. Another teammate may offer a short passing option, allowing the attacker to release the ball before a trap closes. When nobody supports the dribbler, the defender pair can often compress the available space without worrying about an immediate combination.
Do not call a pass a retreat automatically. If it draws the second defender away or lets the attacker receive again facing forward, it may have improved the attack. Equally, a successful take-on is not necessarily a decisive win if the covering player forces the attacker towards the touchline and stops the move from reaching goal.
Judge the outcome by what the cover prevents
After the duel, follow the next action for a moment. Did the attacker create a shot, enter a useful crossing position, find a teammate between defenders or merely keep possession away from danger? Did the covering player block the central route, make a recovery challenge, or force play backwards? This helps distinguish a duel that looks dramatic from one that changes the attack.
Also note the defenders’ recovery. If the marker is beaten but the cover player delays the next action long enough for another defender to return, the defence may have handled the situation collectively. If both defenders chase the ball and leave a teammate free, the attack may have gained an advantage even without a clean dribble past either player.
For a quick match note, record the location, the marker’s angle, the cover player’s starting route, the attacker’s choice and the next outcome. Keep the wording observable: “shown outside; midfielder blocked inside pass; winger laid it back” is more useful than “defended well”. It gives you a clear account of how support shaped the duel.
Which clues reveal the cover player’s plan?
How can I spot the second defender?
Look beyond the player challenging the ball and find the nearest defender positioned to intervene if that player is beaten. Check their route towards the duel and the space they appear to protect; they may be a teammate arriving from midfield rather than a defender standing directly behind.
Does cover always mean a double-team?
No. A cover player can block a passing lane or protect the centre without moving close enough to tackle. Two defenders only become a clear double-team when both actively close the attacker, often reducing the space to turn or pass.
What should I watch when the marker is beaten?
Track the attacker’s next touch and the cover player’s response. If the attacker can reach goal-facing space before help arrives, the breakthrough has substance; if cover forces a sideways pass or delay, the defence may have contained the danger.
Can an attacker benefit from a nearby covering defender?
Yes. The attacker can use the cover player’s position to draw a defender away, then release the ball to a teammate or change direction. The advantage depends on whether a supporting option is available before the pair can recover their shape.
Use the same sequence each time
When the next one-on-one develops, work through the picture in order: locate the marker and cover, identify the routes each defender is protecting, read the marker’s approach, then follow the attacker’s choice and the next action. This makes the second defender visible without losing sight of the ball.
The second defender is not simply an extra obstacle. Their position changes which risks the attacker can take and which routes the marker can afford to concede. Read that relationship first, and a one-on-one becomes easier to understand as a contest of timing, space and support.