The Formation Number Is Not a Map of the Match
Understand what a football formation number tells you—and what it leaves out—so you can describe player roles and repeated tactical changes accurately.
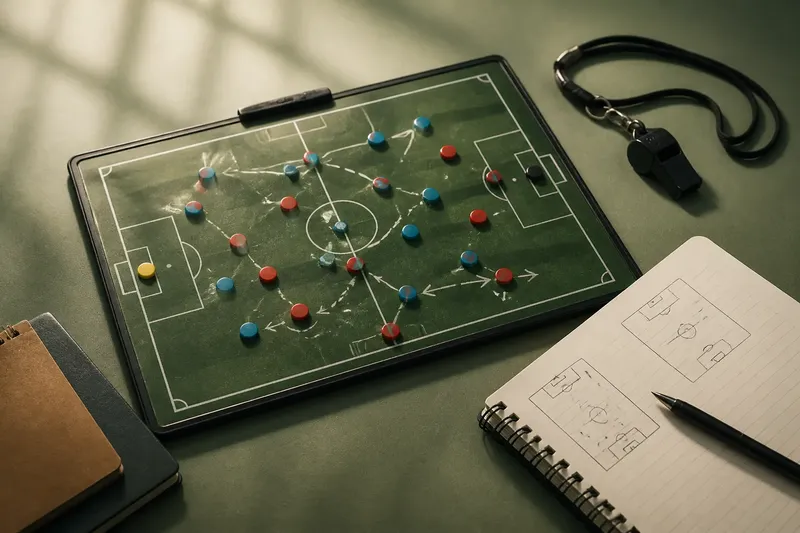
A football formation number gives you a useful starting point, but it cannot tell you by itself how a team builds an attack or protects space. To read a formation number during a match, separate the team’s broad line-up from the specific roles its players take on in each phase.
A formation number describes relationships, not fixed positions
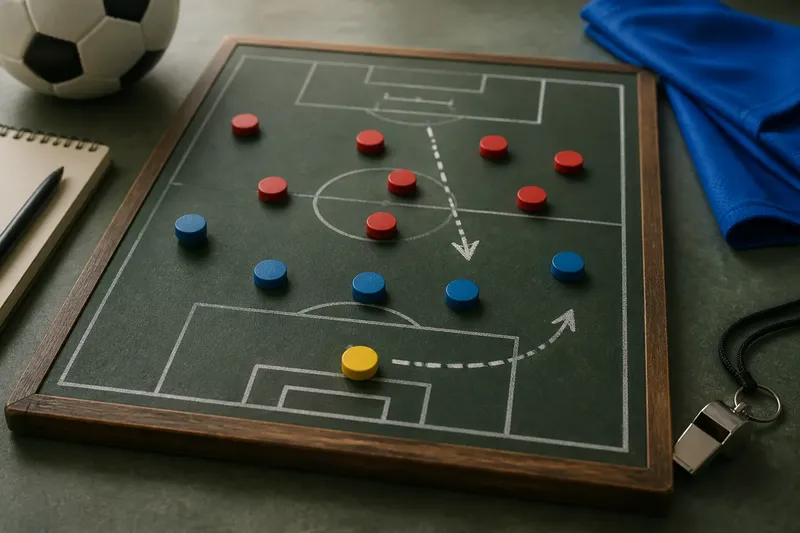
A label such as 4-3-3 or 4-2-3-1 summarises how the outfield players are arranged into broad lines at a particular moment. It can help you identify the team’s basic defensive organisation, but it does not show every player’s position throughout the match.
The numbers also leave important details unstated. They do not tell you which centre-back steps forward with the ball, whether a midfielder drops between defenders, or how far the forwards stand from one another. Two teams can share a formation label while asking their players to perform quite different jobs.
Start by observing the lines and the relationships between players. Note who stays behind the ball, who offers a forward option and who moves to cover a teammate. Describe those roles before deciding whether a different formation label would clarify what you see.
Use roles to explain how a team builds its shape
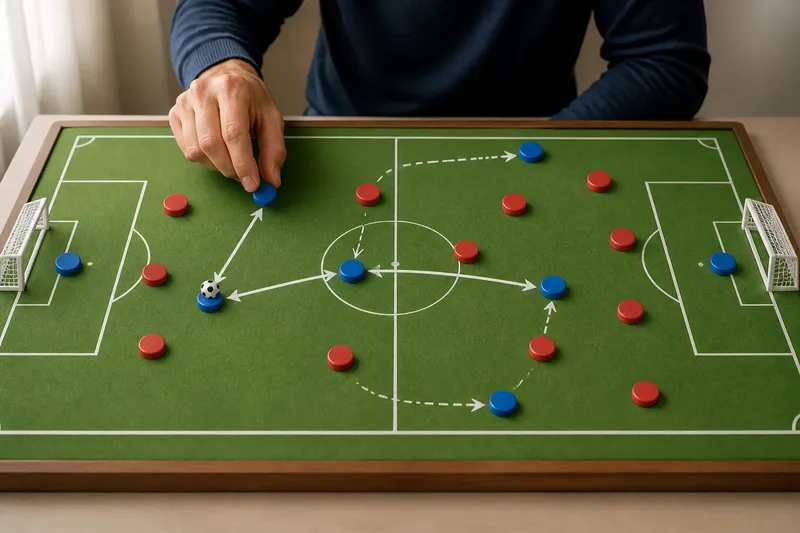
Think of the formation as a framework for assigning responsibilities, not a picture that must be recreated on every attack. A coach may ask a full-back to move into central midfield during the build-up, for example, while a midfielder covers the channel that full-back has left. The useful question is what each movement allows the team to do.
A role-based account keeps the explanation precise. Instead of saying that a team has changed formation because one player moved, describe the action and its purpose: “The left-back moves inside to offer a central passing option; the winger holds the outside lane.” That sentence tells a reader more than a new string of numbers.
Different players can also take on the same role. One team might use a midfielder to support the centre-backs during build-up; another might ask a full-back to move into that space. The starting formation alone does not reveal which option the team has chosen.
Separate defensive organisation from attacking roles
When the opposition has the ball, a team may settle into a recognisable block. Its forwards can screen passes, midfielders can protect the centre and defenders can hold a line behind them. This is often the clearest moment to describe the team’s basic formation.
When the team has possession, follow the roles rather than trying to rename the whole structure after each movement. Ask who supports the player on the ball, who occupies the forward line and who covers space behind the attack. Those answers explain how the team is organising its players without confusing a temporary position with a new formation.
Transitions need their own description. After losing the ball, nearby players may press while others retreat; after winning it, a forward may run into space before the team settles. These immediate reactions are part of the match, but they do not automatically mean the team has adopted a different underlying arrangement.
Describe a change only when it becomes a repeated arrangement
A run into a new position may be a response to one pass, a pressing cue or a teammate’s movement. Look for the same role to recur as the team builds or resets. If it does, describe the repeated adjustment; if the players return to their previous jobs, name the movement rather than assigning a new formation.
Say you are watching a side listed as 4-3-3. Its left-back repeatedly moves into midfield when the goalkeeper starts play, while the left-sided midfielder covers the space behind. After the team loses possession, the left-back returns to the defensive line and the midfielder presses the nearest opponent. A clear account is that the team uses an inward-moving full-back in build-up and restores its defensive line after losing the ball—not that it has become a fixed new formation.
Substitutions can prompt a lasting rearrangement, but the substitution alone is not enough to identify it. Watch where the incoming player settles and whether teammates take on new, repeated responsibilities. Describe the new arrangement once those roles are visible.
How should you choose a formation description?
What does a formation number leave out?
It leaves out the details of individual roles, the distances between players and how the team responds as possession changes. Add those details when they explain how the team is organised.
How can you tell a role from a one-off movement?
Check whether the same player repeats the movement as the team builds, defends or resets. If it recurs, describe it as a role; if it happens only once, describe the action without treating it as a lasting structural change.
When is it useful to name a different formation?
Use a new label when the team repeatedly settles into a different arrangement of lines and player responsibilities. For a single run or temporary pressing action, naming the movement is more precise.
Why can teams with the same formation behave differently?
The number does not specify which players move into midfield, who provides forward support or how the defensive line responds. Compare their roles in the same phase to explain the difference.
Keep the description tied to what you can see
Use these checks before settling on a description:
- Starting arrangement: Check where the team’s lines settle without the ball; if they form a clear pattern, use it as the starting formation, but describe the roles separately if movement quickly changes it.
- Repeated role: Check whether a player moves into the same area across several build-ups; if so, name the recurring role, but describe it as a one-off movement if it does not recur.
- Cover behind the ball: Check which teammate fills the space a moving player leaves; if cover is consistent, explain the paired roles, but if no teammate fills it, describe the space as temporarily exposed.
- Defensive reset: Check whether the team returns to its previous lines after losing the ball; if it does, describe a phase-specific adjustment, but if it repeatedly settles into new lines, describe a structural change.
- Substitution effect: Check where the incoming player plays and whether teammates change responsibilities; if the new arrangement persists, name it, but if the side returns to its previous roles, describe the substitution without claiming a formation change.
- Evidence for a label: Check whether the new formation label explains the players’ repeated positions better than a role-based description; if it does, use the label, but if it hides the movement, explain the roles instead.
A formation number is most useful when it anchors a precise account of the team’s roles. For a clear formation number analysis, state the basic arrangement, identify the repeated movements and explain who covers the space they leave. That gives the reader a picture of the team’s organisation without mistaking every change of position for a new formation.